

Intro To Apache Server
Nov 11th 2020
Introduction:
The internet is a enormous web of interconnected devices used on a daily basis. Accessing web pages, sharing files, streaming media, transmitting data and anything that you can think of! But where does all of this sit? It’s not on one guy’s computer in some basement. Its stored or hosted on a server. A server is a device with big capacity storage that is capable or receiving and responding to multiple requests. Think of a server as a private library. It can be accessed by certain individuals who have been granted permission. The contents of that library are open to anyone to use and share. Of course many other servers are public. Depending on what data they store and what service they provide. Now, how does one setup a server? Well nowadays, any device can function as a server. As I mentioned above, as long as it has storage available and can receive and send out multiple connection requests, it can function as a server. Thankfully, Robert McCool came up with a project called Apache Server. Today I will talk briefly about what Apache is and how can you setup your own server to share files or do pretty much anything you desire.
Apache Server:
Not to be confused, today we are dealing with the software side of a server. Hardware side includes physical devices and their networking setup. But software side is all about creating the http deamon and establishing a connection to the outside world. Apache is a cross-platform web server library. It enables certain devices with networking capabilities to function as full on servers. Users then connect to such servers using something we discussed earlier, ssh.
Today our Apache server will function as a cloud storage for your home or small business. You will be able to login and store files that your employees can access anytime. No need for sharing USB sticks and endangering your computer systems to outside malware and viruses. The following tutorial is set up on Ubuntu. MacOS and any other Unix based operating system will follow the same instructions. Let’s start by installing apache2:
$: sudo apt-get update
$: sudo apt-get install apache2
After the update and installation are complete. Apache has a default landing web page ready at your IP address. Find out your IP and navigate to it in your web browser to find this:
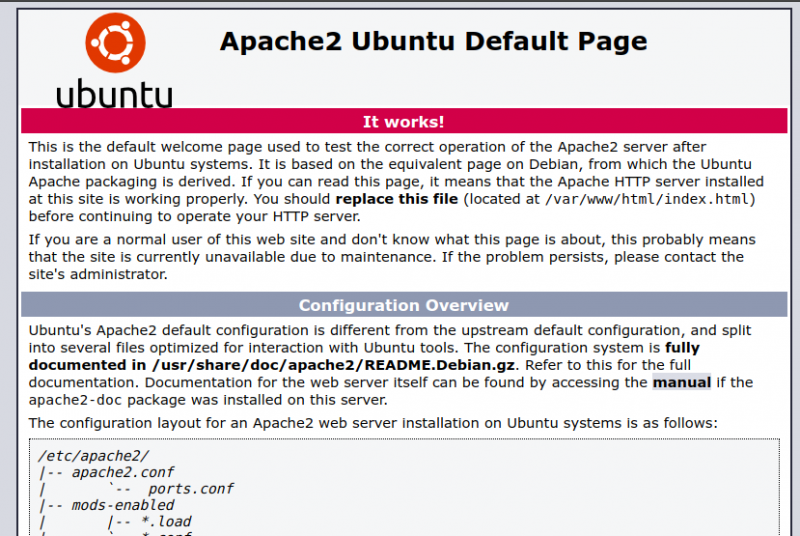
This means apache2 is up and running. You can check if the server is running by running top in terminal. You will find a process by the name httpd which stands for “http deamon”.
Next step is to edit the configuration file. One thing you can do, is to replace the default landing page with your website files as mentioned in the figure above at /var/www/html/my_website_folder/. Place your files there and it will load your .html documents.
Now it is time for some configuration time. We will create and activate a new VirtualHost configuration file. Follow the steps below:
- Navigate to: $: cd /etc/apache2/sites-available. Apache generates a default configuration file called 000-default.conf. Let’s use that one as a basis for our custom configuration file.
- Make a copy: $: cp 000-default.conf my_website.conf.
- Let’s start editing the configuration file:$: nano my_website.conf.
- Find ServerAdmin and replace the default email address with your email address.
- Find DocumentRoot and make sure it points to `/var/www/html/my_website_folder/.
- Create a ServerName and add my_website.example.com.
We are done with the configuration file. Save it and exit. Now it is time to activate our configuration file to make sure the changes are in full effect and our website is reachable. So type in $: sudo a2ensite my_website.conf. This will deactivate the default configuration and enable our custom file. You should expect to see the following output after running the command:
Enabling site my_website. To activate the new configuration, you need to run: service apache2 reload root@ubuntu-server:/etc/apache2/sites-available#
Let’s listen to the output and do as they ask:
$: service apache2 reload
This will restart the server service and everything should be activated and ready to be used! If you go to my_website.example.com you will see your website load!
Conclusion:
This was a short and quick guide on setting up a Apache2 server on your computer. Now that your website loads, we will discuss how to turn your server into a cloud storage and how other people can login and share files! Stay in tune for the following blog post.